Showing posts with label snacks. Show all posts

2/9/14

Salmon Cheddar Grills -- A Quick and Healthy Snack

I was invited to test a recipe from Alaska Seafood Marketing Institute's new e-cookbook, "Alaska Style -- Recipes for Kids," which is chock full of healthy snacks and meals for children and adults.
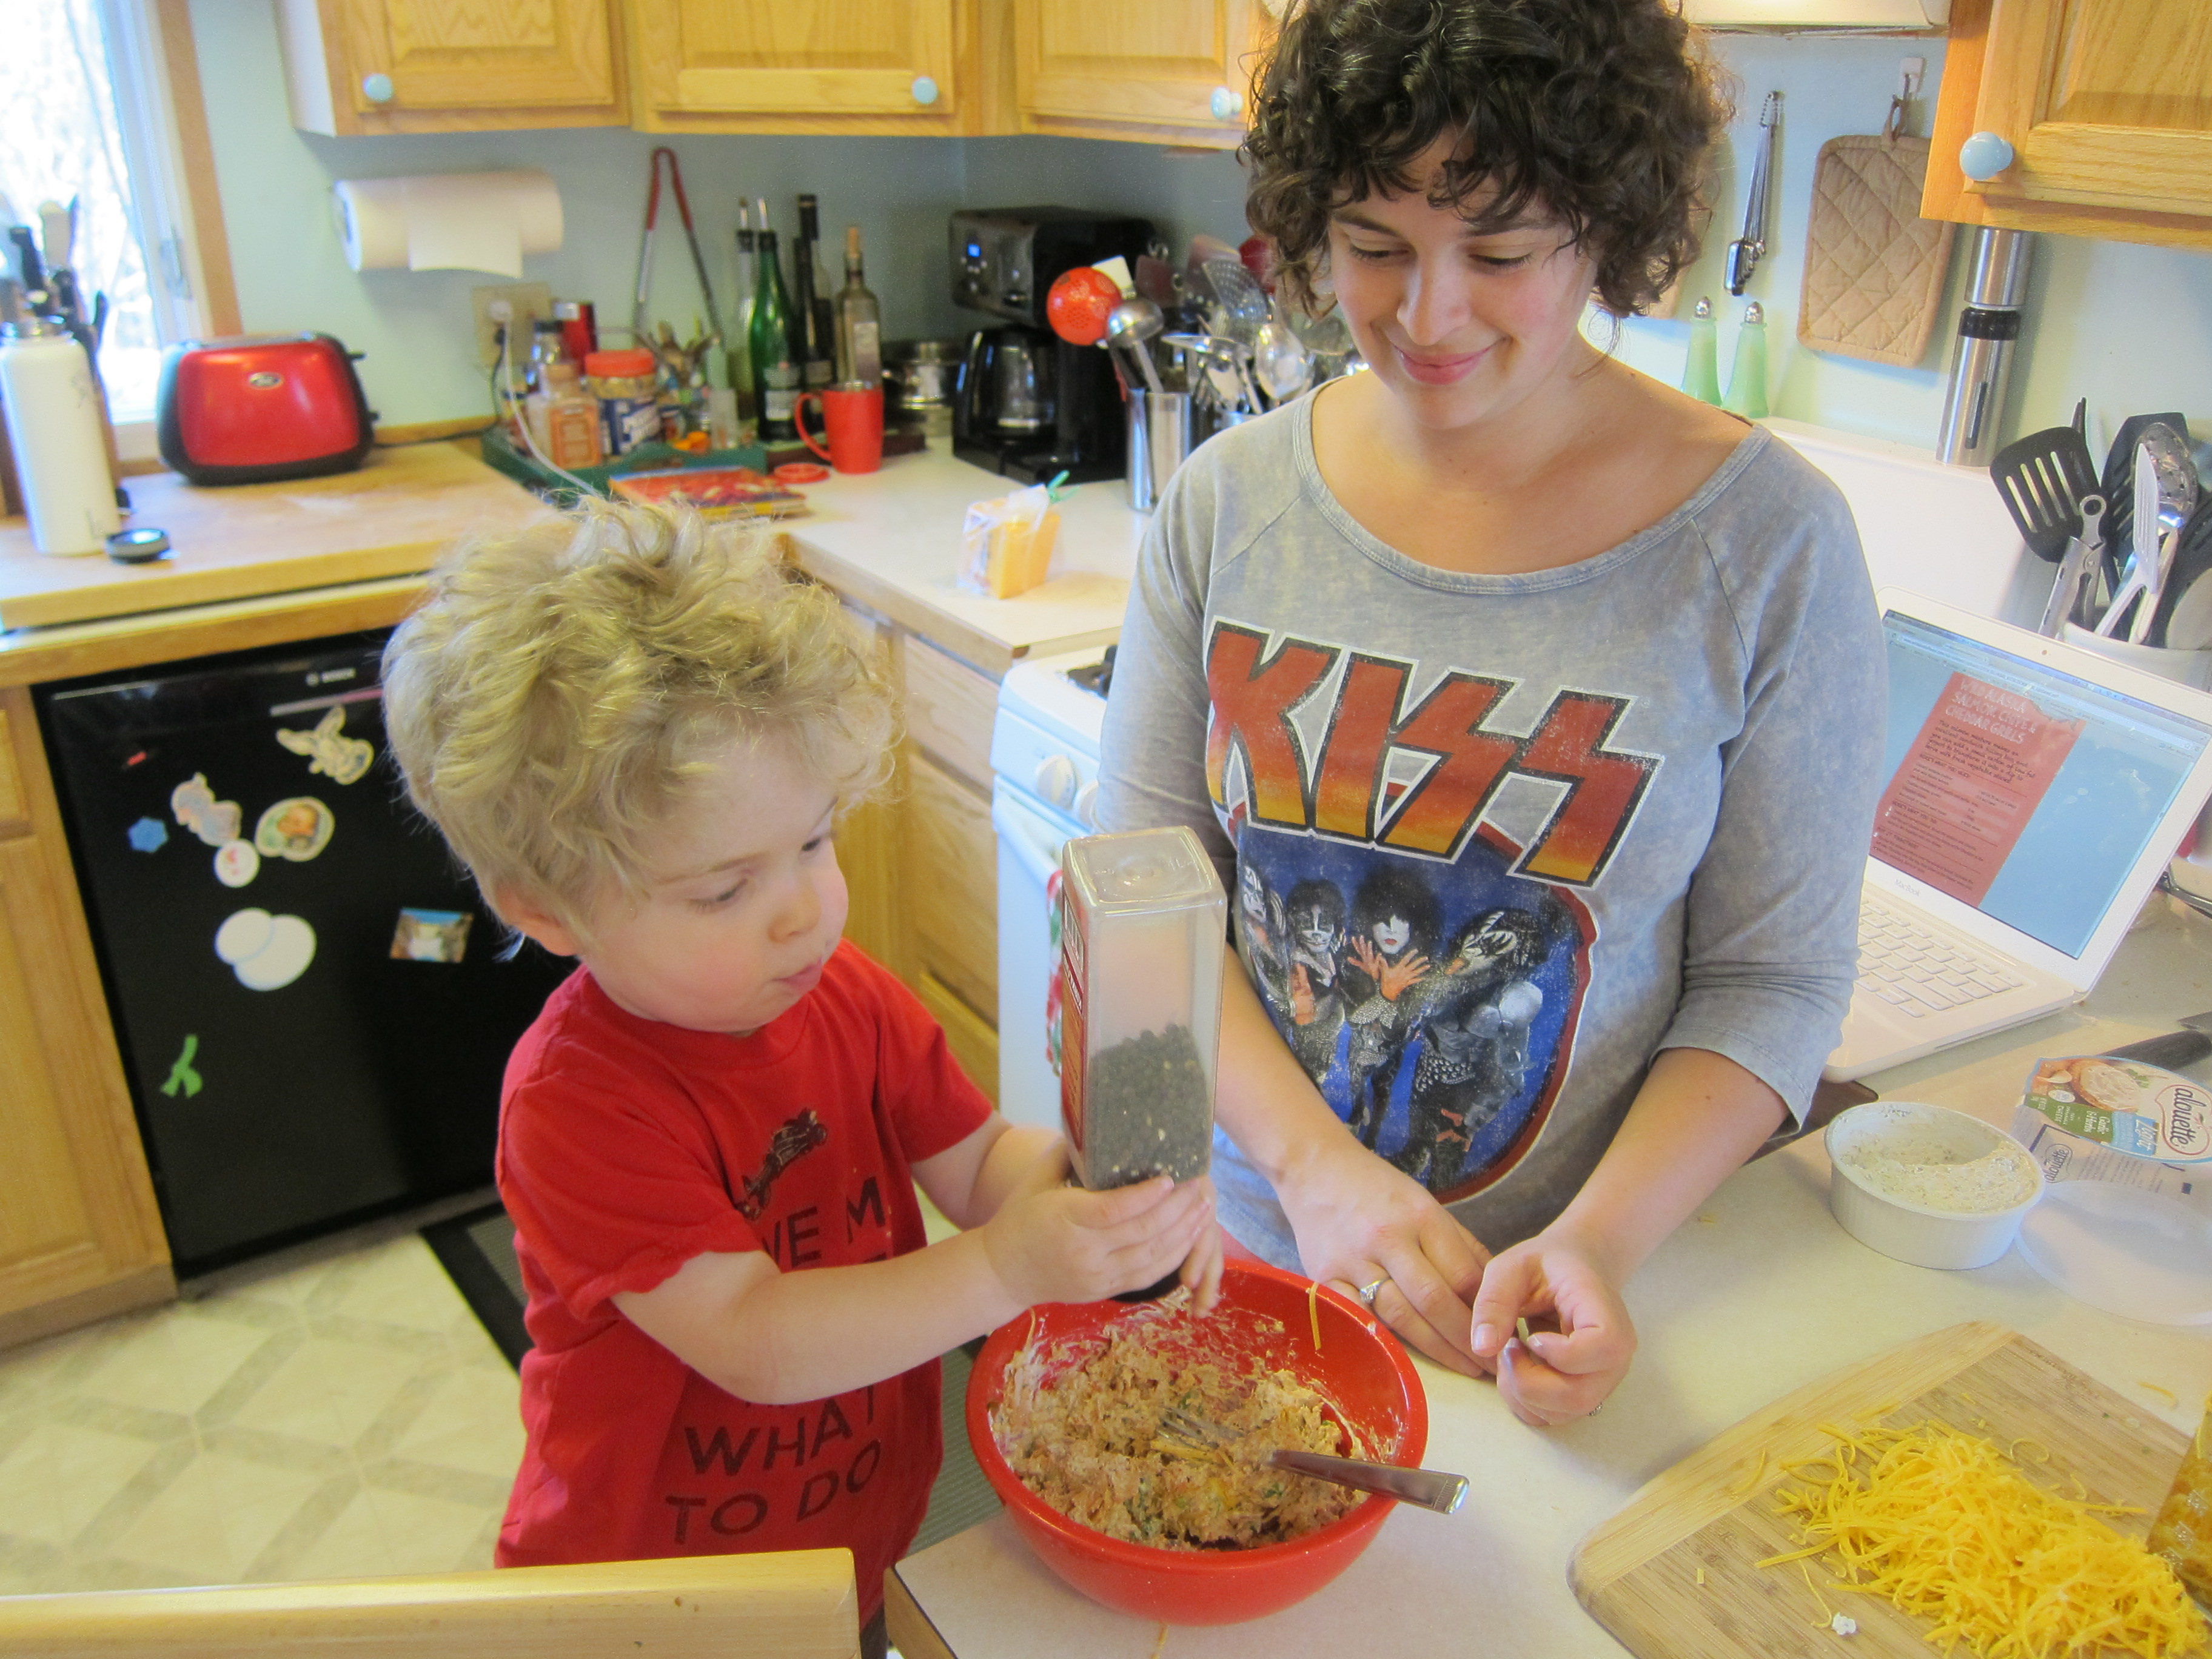
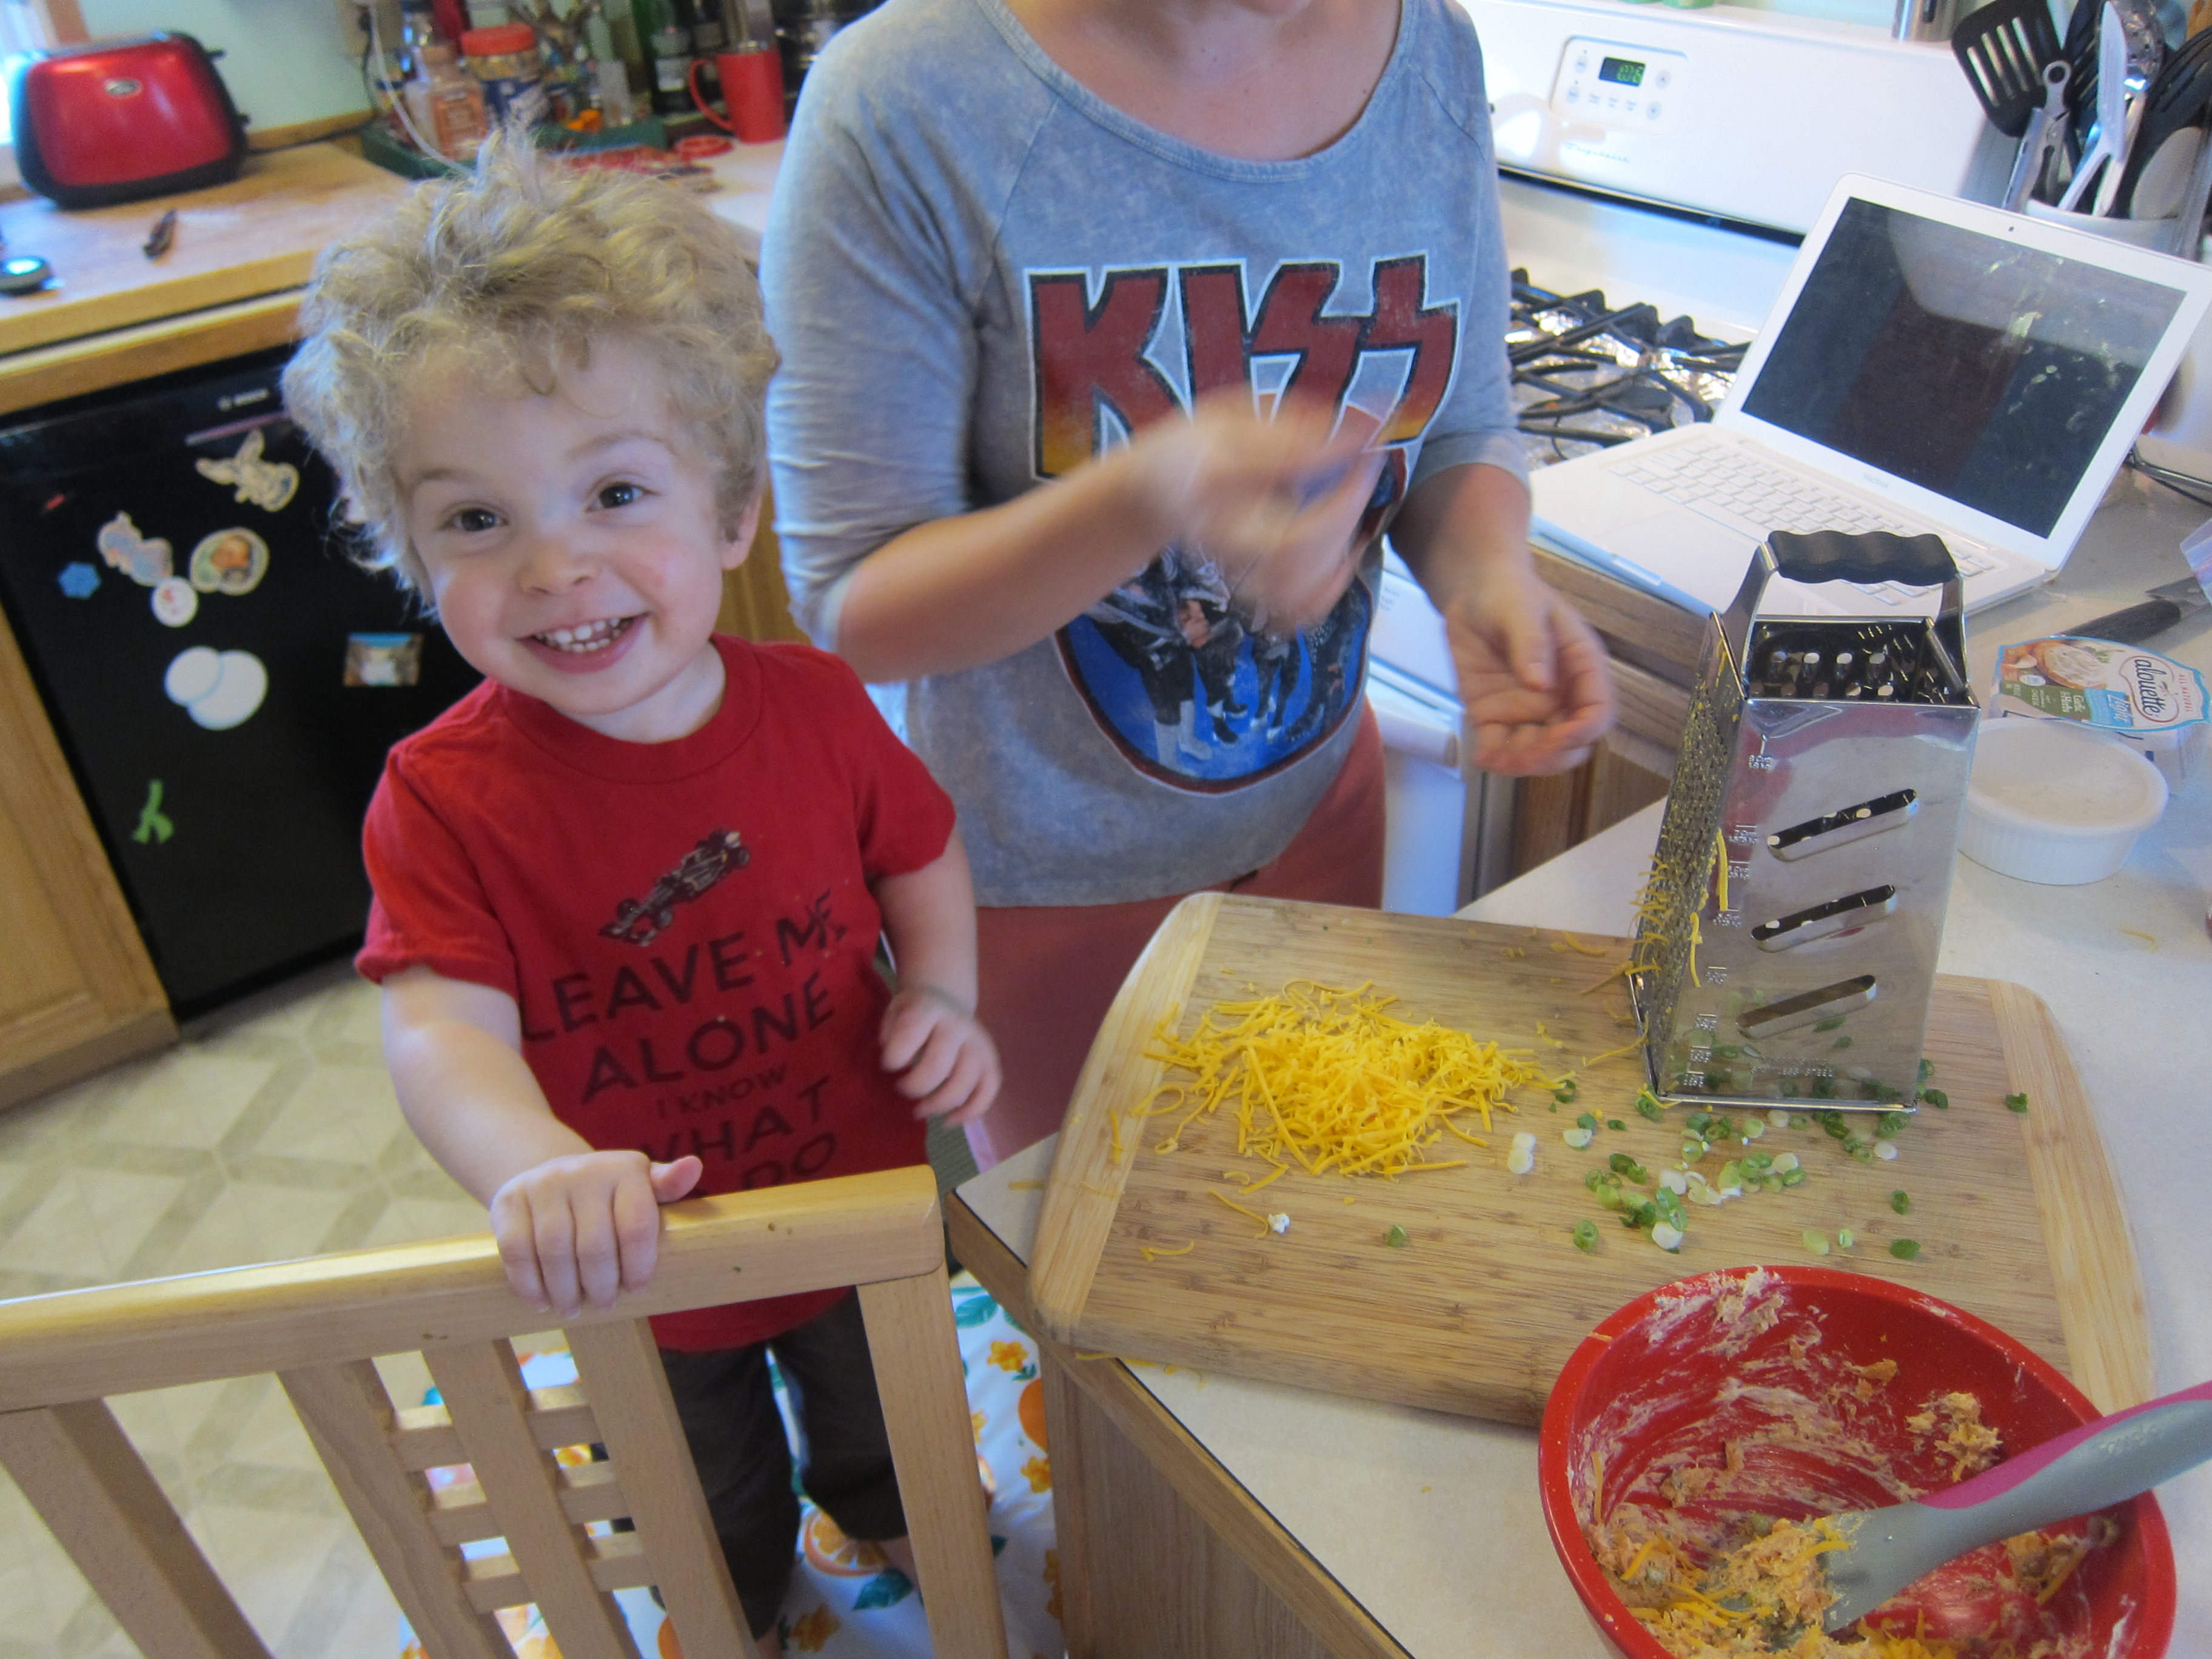
I've not cooked much with my 21-month-old son, but last week he did a great job of sprinkling cheese on some focaccia I was baking, so I knew he'd be able to assist in the salmon cheddar grills we whipped up for lunch. When I mentioned I would need his help in the kitchen, Jack explained to his dad, "Help mama make snack," so he knew something special was about to happen.
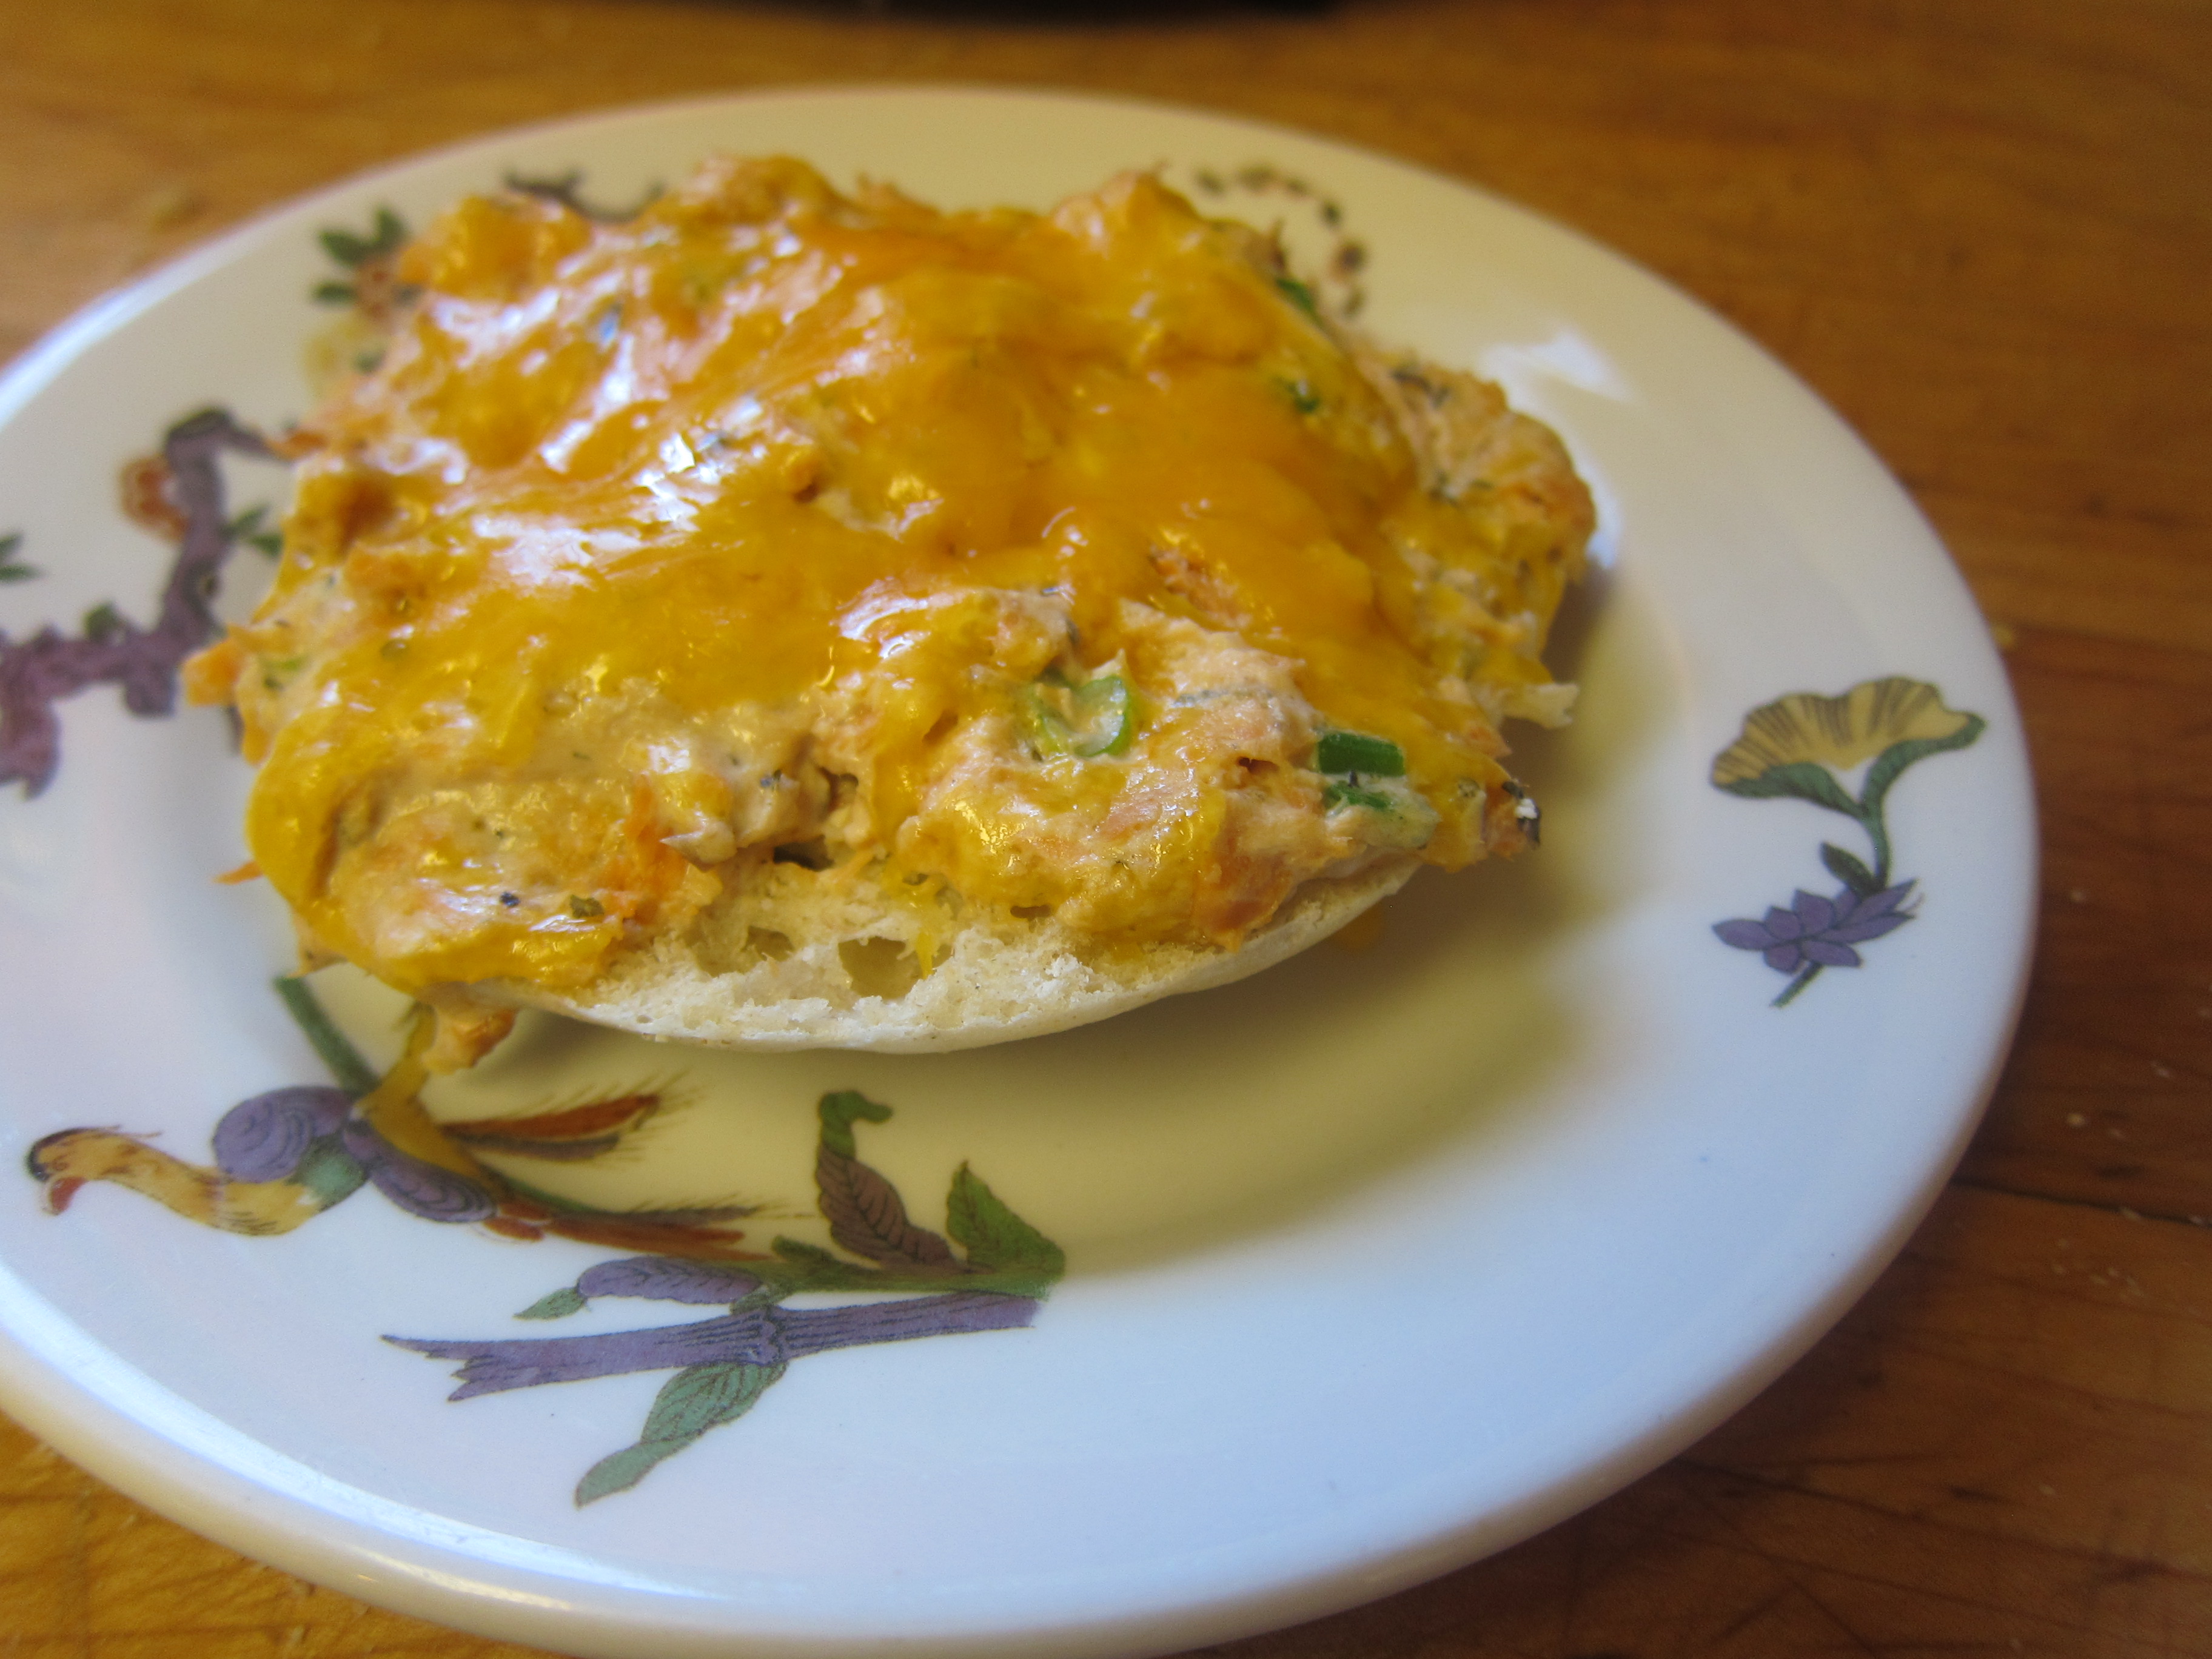
These salmon grills are perfect if you're introducing fish to your little picky eater as the fishy taste is almost completely disguised by the cheesiness. Jack eats just about anything so I knew they'd be a hit. They were easy to prepare and after a few minutes in the toaster oven we had lunch for two.
Salmon Cheddar Grills -- A Quick & Healthy Snack
Salmon Cheddar Grills
For the original recipe, check out the e-cookbook "Alaska Style -- Recipes for Kids"
Ingredients:
1, 7.5-oz. can of wild Alaska salmon, pink or red
2 oz. light garlic and herb cheese spread (Alouette or Laughing Cow is good)
2 tsp. green onion or chive, finely chopped
1/4 cup cheddar cheese, shredded
2 English muffins or slices 0f rustic bread
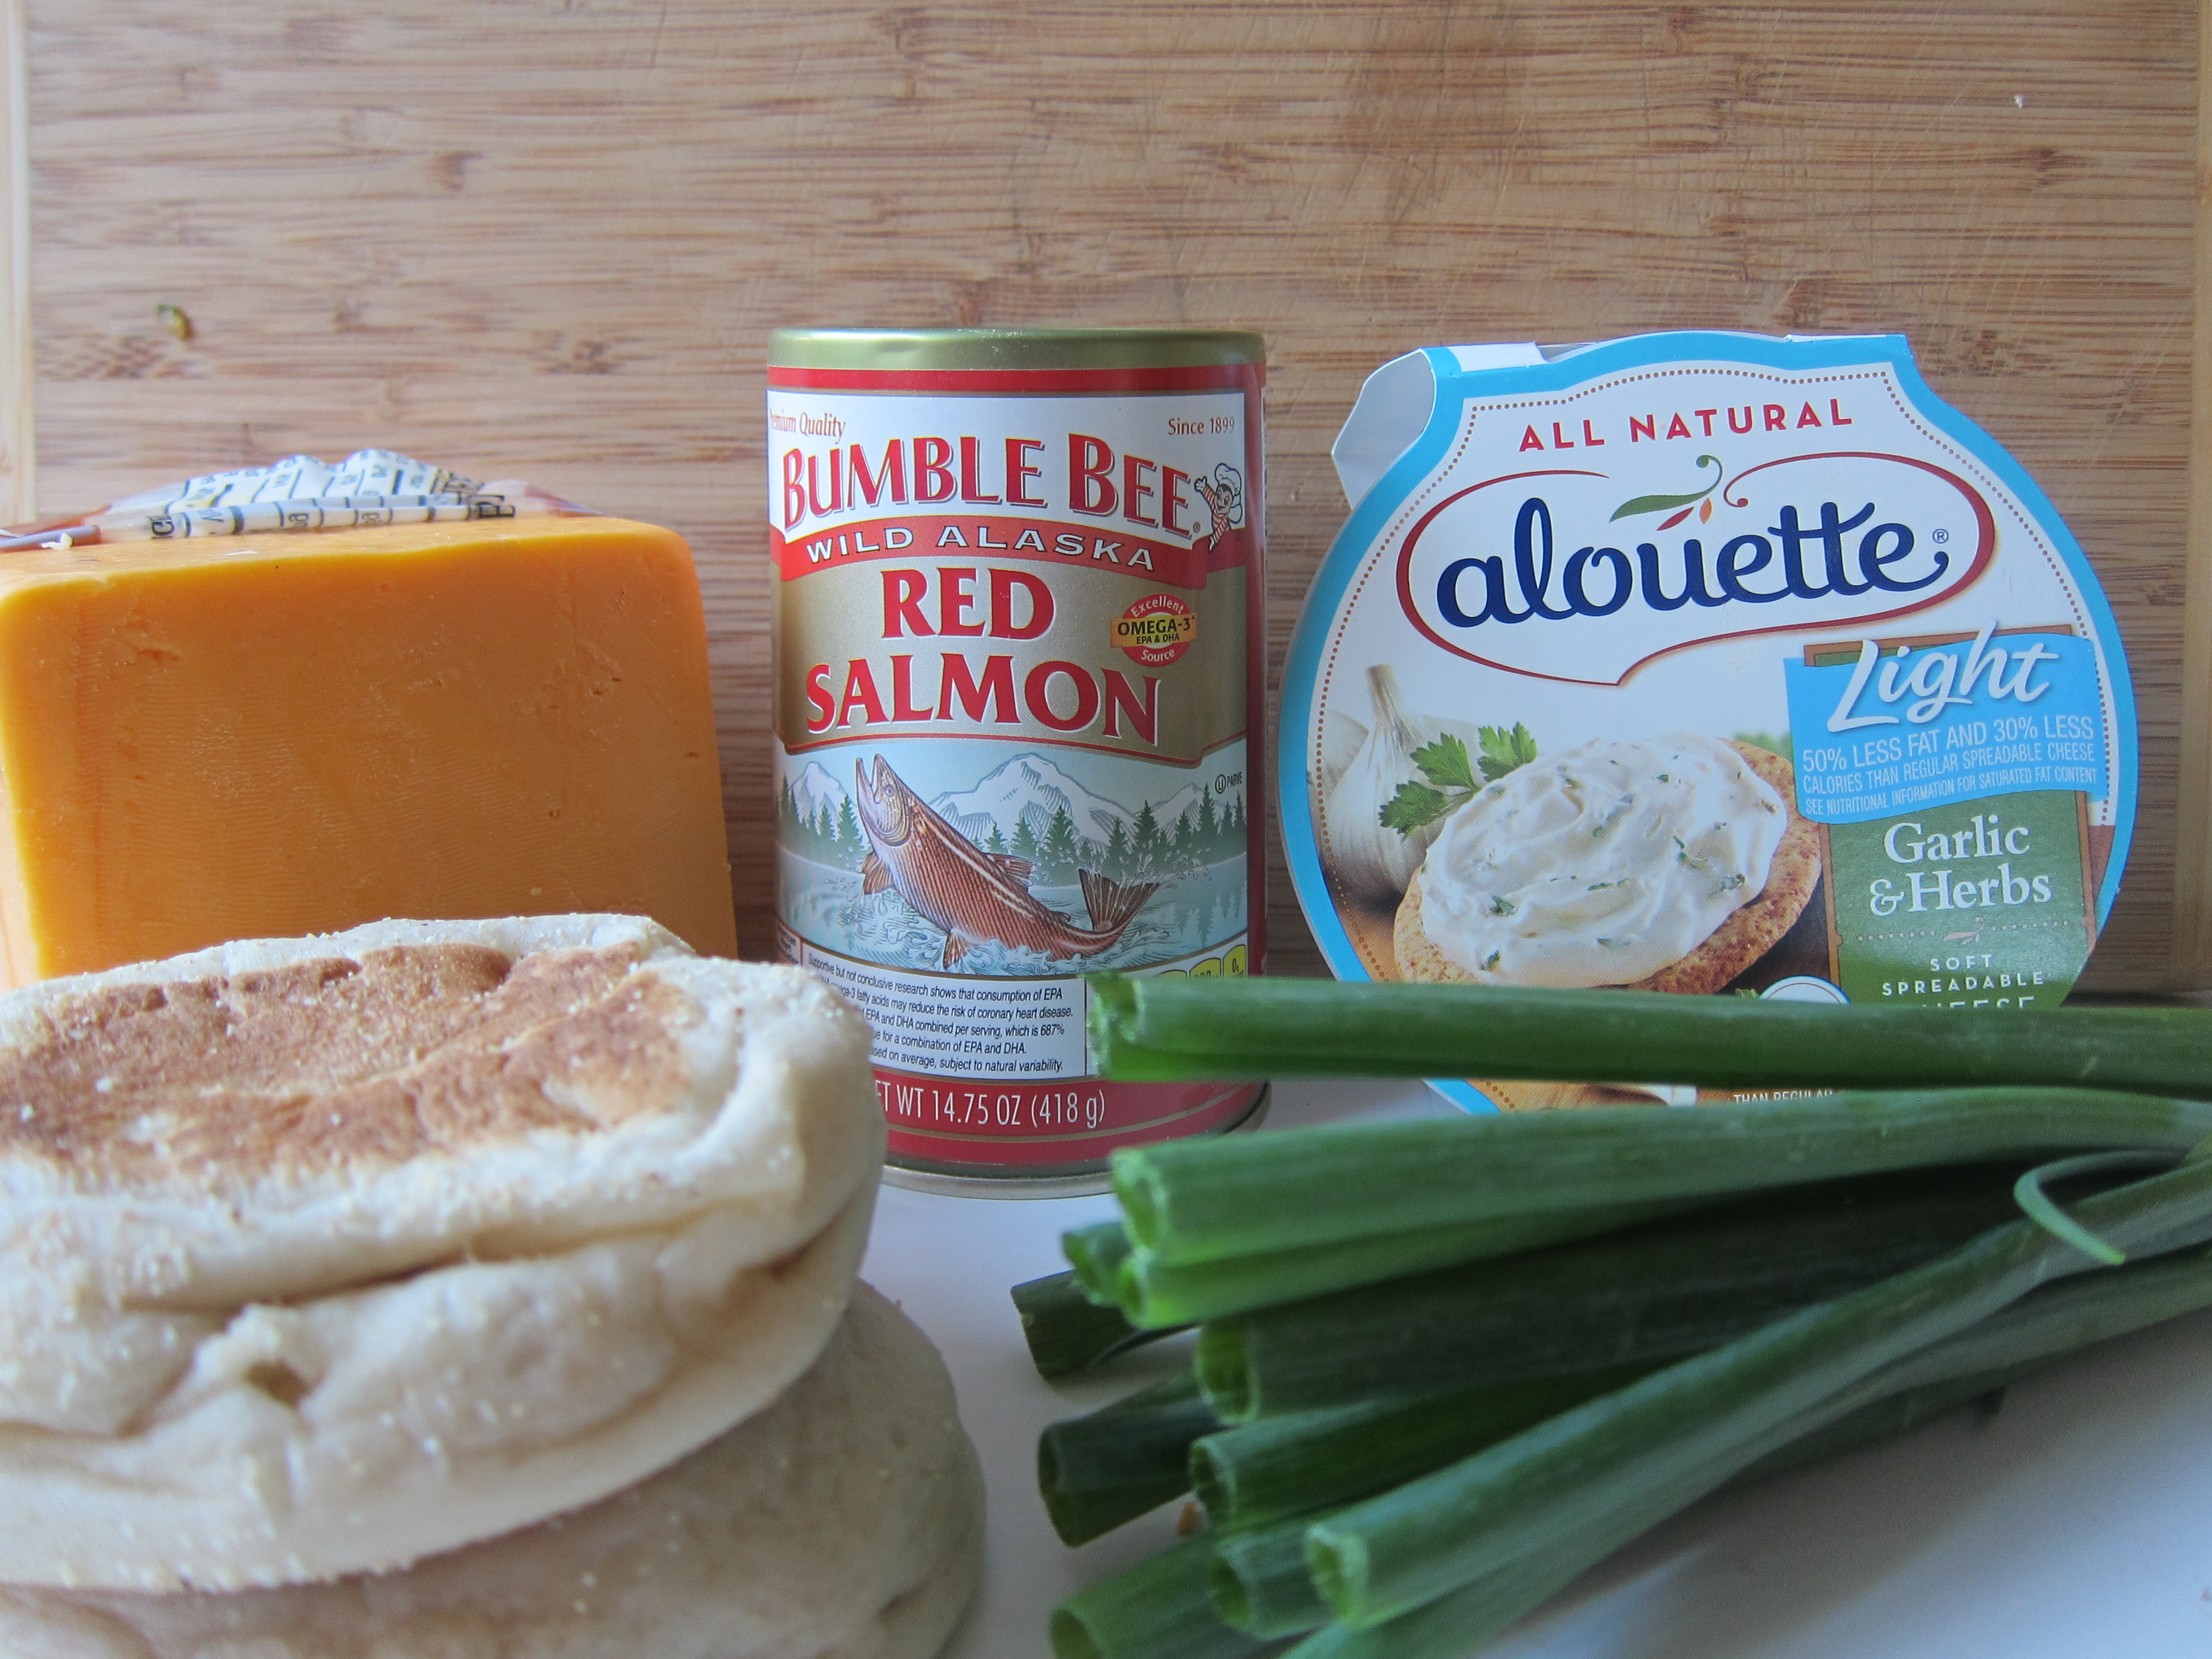
Salmon Cheddar Grills -- A Quick & Healthy Snack
Directions:
Drain the salmon and break it up with a fork in a mixing bowl. Add the cheese spread, green onions and half the cheese. Add pepper to taste. Mix well. Spread onto the bread and top with more cheddar. Place in the toaster oven or broiler till cheese is all bubbly. Enjoy!
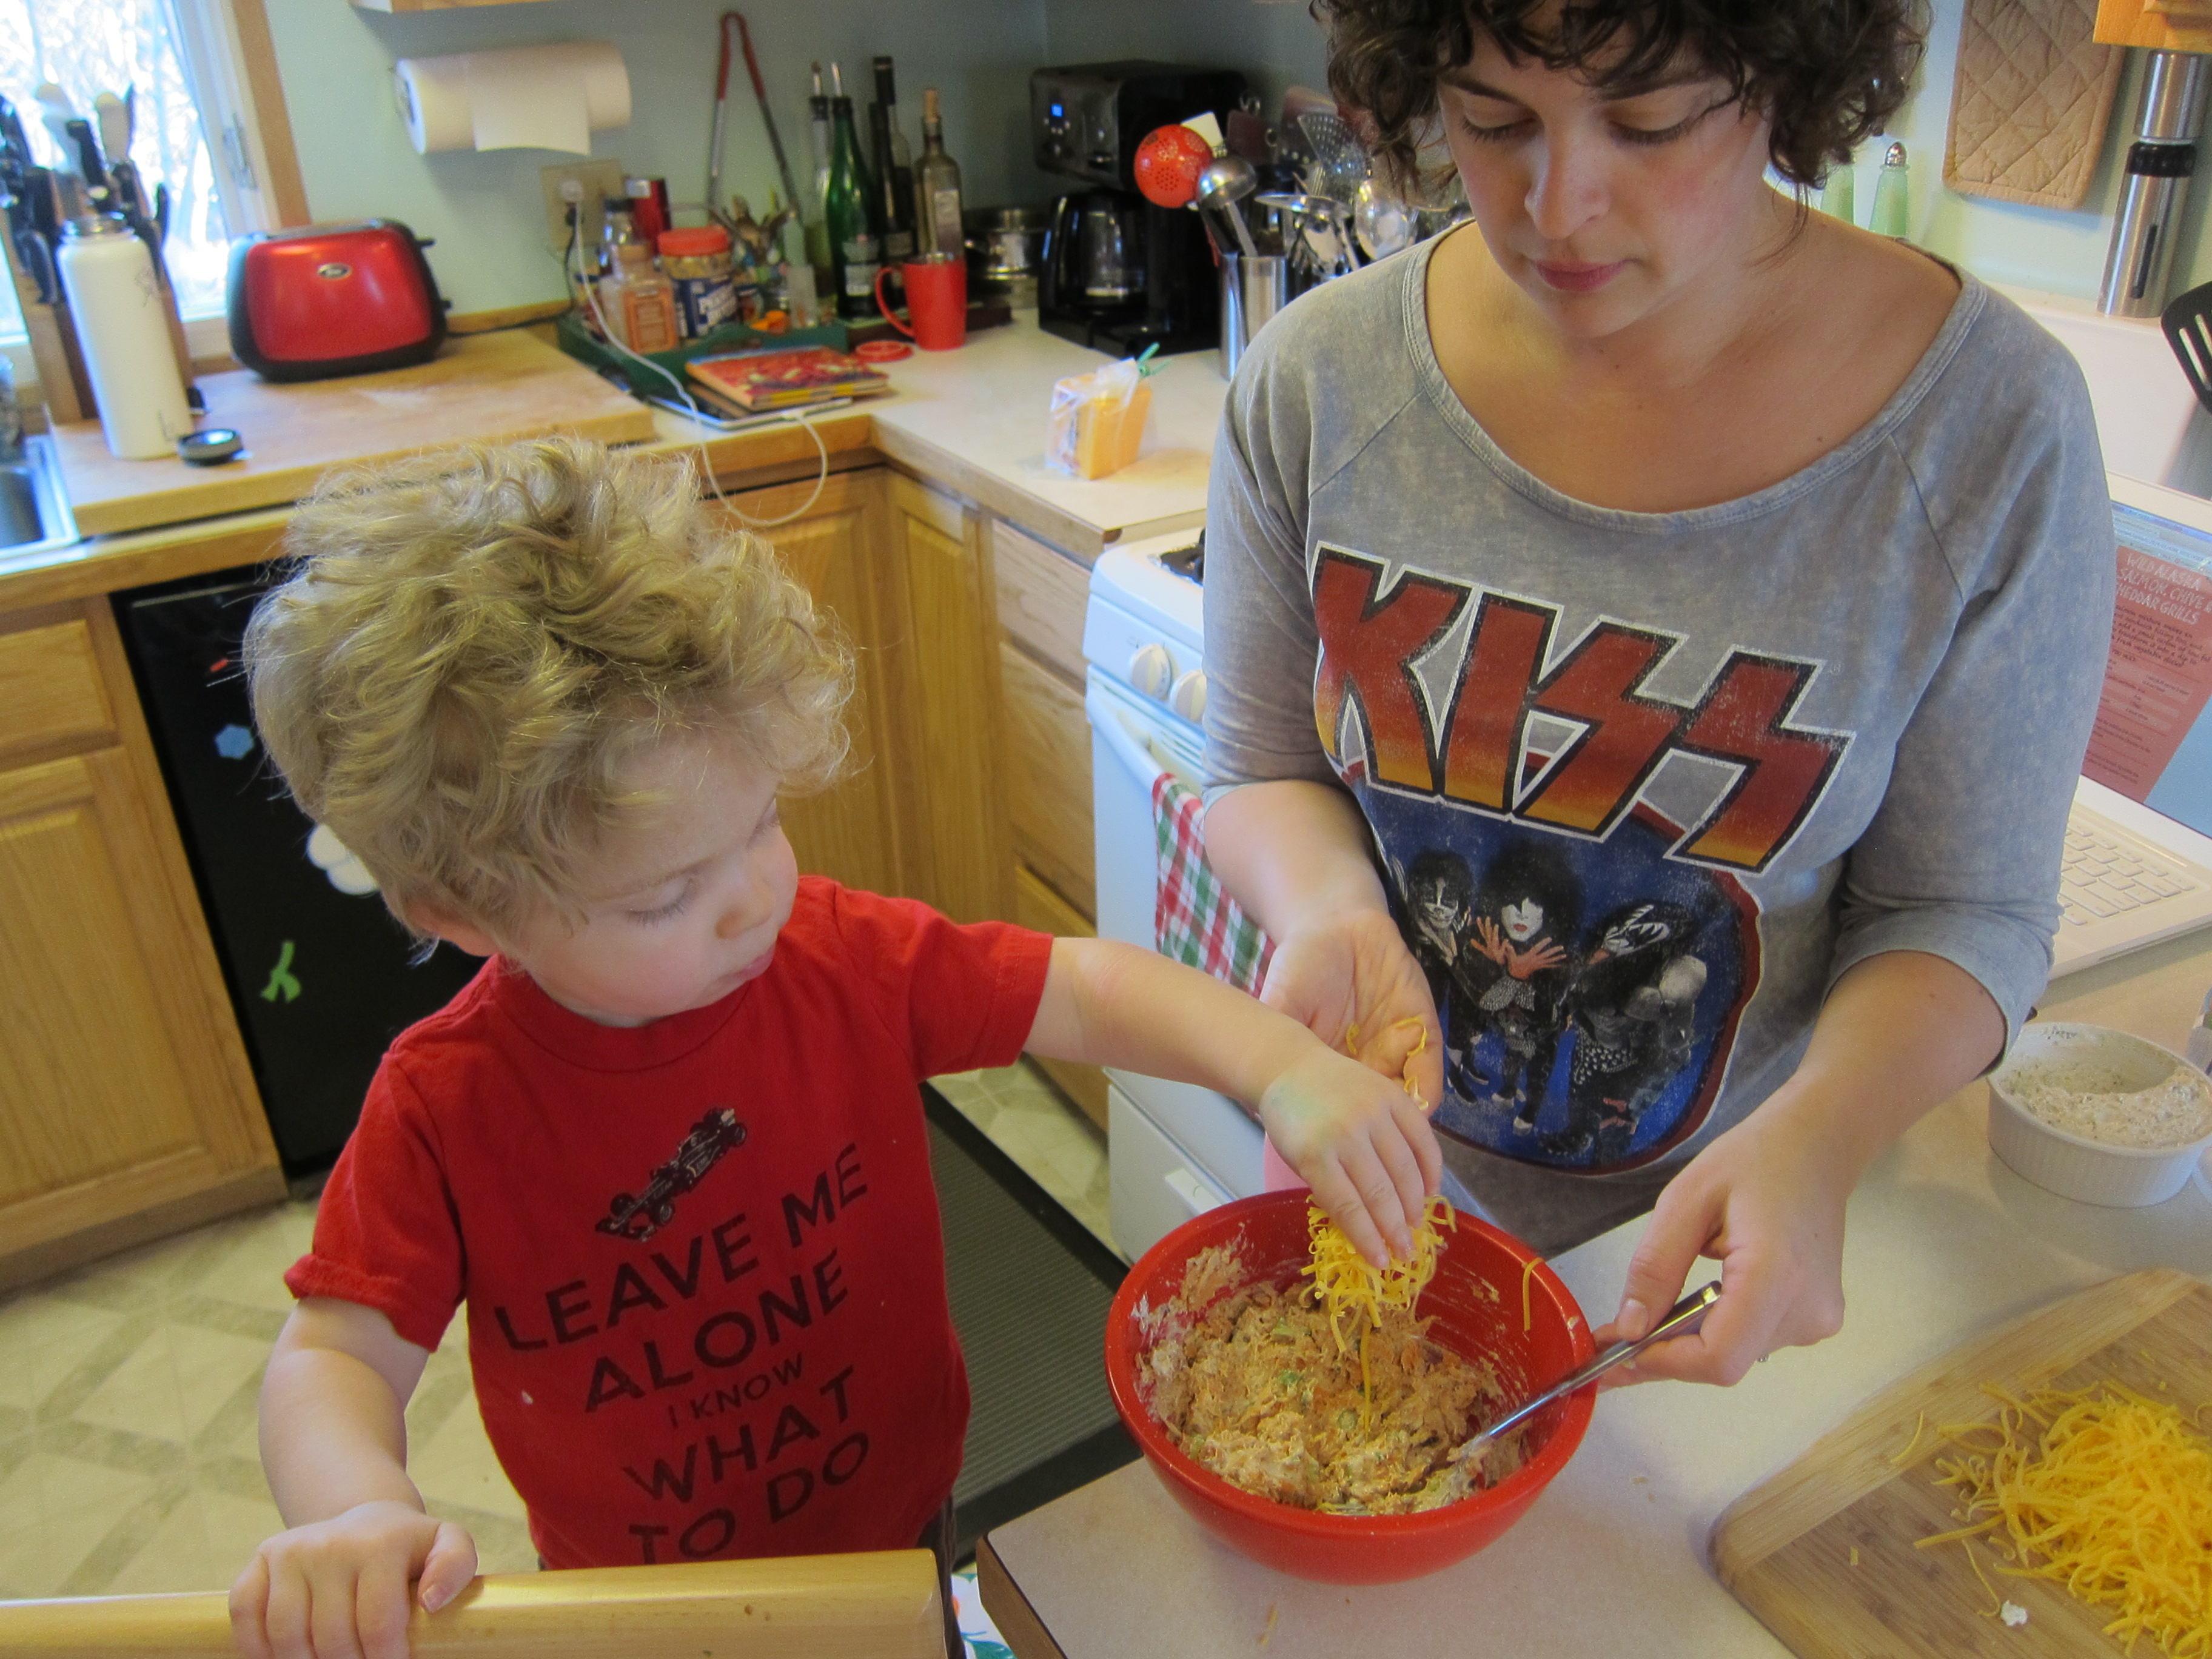
IMG_4207
Salmon Cheddar Grills -- A Quick & Healthy Snack
For more great recipes and e-cookbooks, click here!

10/19/11

Boiled Peanuts

I'm not a big fan of peanuts. I can do without peanut butter and I'll munch on the roasted kind if it's the only thing available at a bar, but the one type of peanut I really adore is the boiled peanut.

The first time I had them was about six years ago in Seward, Alaska. Someone was selling them at a local bar. They are salty and soft -- a little like edamame.

Fast forward to present day. I really didn't think pregnancy was affecting me in the cravings department, but when my step sister-in-law posted on Facebook a photo of a Georgian boiled "P-nut" stand, that is the only thing I ever wanted to taste.

The reason I've never been able to make them myself is that you need raw peanuts -- ones that haven't been roasted. You just can't get them up here.

Thanks to my mother-in-law's thirst for online shopping, she was able to have some shipped up to me via Amazon.com.


I didn't know what to expect. I was worried they would be fresh like sprouts where they could go bad very quickly. When I opened the box, I surely thought she had mistakenly sent me roasted peanuts because they were dry and hard. Then I read they were cured and raw so I knew I was good to go!

Give yourself an afternoon to make them, because it takes several hours. The longest, easiest snack this side of the Mississippi!

Directions:
Place about a pound of raw peanuts (still in their shells) into a large pot. Fill the pot with water and add 1/2 cup of salt. Put the lid on and bring to a boil. Turn heat down so your peanuts are still simmering and cook for hours until they are soft to your liking.

They can be stored for up to 10 days in the fridge and I've read you can freeze them for even longer.


7/12/11

Homemade French Fries

Our wedding anniversary is coming up so I forced Stephen to bust out last year's gift from me to him: our deep fryer. I mean, who actually uses a deep fryer? It is somewhat a waste of space, but we have a lot of cabinets. Even though it was only the third time we've used it and the oil reeked of falafel, we ended up with some tasty fries:


I made sure to soak them in super cold water and to dry them off as best I could before dunking them. 

7/9/11

Nom Nom Popcorn

My friend Ashley spent all last week raving about her incredible maple cayenne popcorn. She gave me the recipe she used from December's Cooking Light Magazine. I'm not one for carmel corn, but holy moly was Ashley right. It's sweet, salty and just the right amount of spicy. This popcorn deserves some kind of professional Nom Nom Award. First prize!


Ingredients:
1 tablespoon cooking oil
1/4 cup unpopped popcorn
1/4 cup cashews
1/3 cup sugar
1/3 cup maple syrup
1 tablespoon butter
1/2 teaspoon salt
1/4 teaspoon cayenne powder

Heat oil in a large saucepan. Add the popcorn, cover and shake till kernels are popped. Stir in the cashews. Meanwhile, add the sugar, syrup, butter, salt and cayenne to a small saucepan and bring to a boil. Cook for one minute, stirring frequently. Pour syrup over popcorn and cashews and stir. Spread out on a parchment-lined cookie sheet and let cool at least 3 minutes. I stirred the mixture around on the cookie sheet to combine everything better.

Chow down!

3/20/11

Homemade Granola

My coworker Bryan gave me this easy recipe for homemade granola. Be sure to use rolled oats and not any kind of instant, quick cooking oatmeal. Also, I'd look for white chocolate that does not contain palm oil, as I've heard that stuff is really bad for you. I used Ghiradelli white chocolate in bar form, not the baking chips.

Be creative with this recipe. I used different kinds of nuts and dried fruits. Bryan originally had canned mandarin slices, which was really tasty.


Ingredients:
1.5 cups rolled oats
1/4 cup apple sauce
1/2 cup dried mixed fruit, chopped
1/4 cup golden raisins
1/2 cup mixed nuts
1 4-oz. bar of white chocolate

Preheat oven to 220 degrees F. In a mixing bowl, combine the oats and apple sauce. Add the fruit and nuts and mix thoroughly. Line a baking sheet with foil and spread out the granola on the pan. Bake in the oven for 90 minutes.

Meanwhile, chop the chocolate finely. Place half of it in a mixing bowl. When granola is done baking, add it to the mixing bowl and top with the rest of the chopped chocolate. Mix thoroughly until chocolate is melted. Place in a gallon ziploc bag and store in fridge.

2/20/11

Kale Krisps

Kale is a beautiful plant. It's ruffly and looks so healthy. But who cooks Kale? I know little about this vegetable. So today I decided to try something new: kale chips. It's simple. Take a fresh bunch of kale and dry it as much as possible. Tear the thick stem away from the leaves. Break the leaves into bite-size pieces and toss lightly with olive oil. Transfer to a cookie sheet, making sure none of the leaves overlap. Lightly salt and place in a 350-degree oven for 15 minutes. What comes out are crispy and salty. You wouldn't believe you're eating something so rich in beta-ceratene and vitamins A and C!


1/2/11

Sweet and tangy popcorn

No photo, but I'm sure you can imagine what popcorn looks like. OK, here's a stock Google photo:


I wanted to make some popcorn that was super tasty but not as unhealthy as smothering it in butter.

Pop some popcorn and drizzle it with:
Olive oil
Raspberry balsamic vinegar

Sprinkle with salt and freshly ground pepper.

LinkWithin

Related Posts Plugin for WordPress, Blogger...